When I decided to dive into the fantastic world of homebrewing, the first hurdle I encountered was choosing the right brew kettle. You might think that a kettle is just a kettle, but let me tell you, there’s more to it than meets the eye.
Understanding the Role of Your Brew Kettle
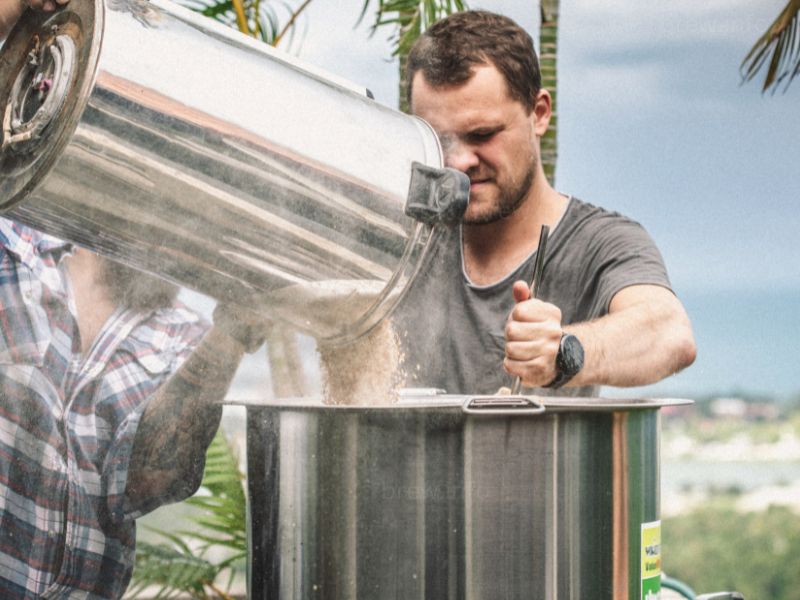
A kettle is an essential tool in homebrewing. Its primary function is boiling wort, a mixture of malt sugars, which eventually becomes your delicious beer. But each kettle comes with its unique characteristics and features. So, how does one navigate this seemingly complex landscape and select the right brew kettle?
Determining the Appropriate Size of Your Brew Kettle
First, let’s tackle the size. When I brewed my first batch of beer, I used a small kitchen pot, and it was a disaster. The brew spilled all over my stove, creating a sticky mess. That was when I realized the importance of the kettle size. The size of your brew kettle should be about 1.5 times the volume of your intended batch size. This extra room prevents the wort from overflowing during the boil.
For instance, if you’re planning to brew a 5-gallon batch, a 7.5-gallon kettle would be a perfect fit. If you foresee scaling up your brewing operation, go for an even larger kettle. Remember, it’s easier to brew a small batch in a big kettle than the other way around!
Exploring the Essential Features of a Brew Kettle
Once you’ve got the size down, it’s time to look at the features. When I bought my second kettle, I ensured it had a spigot. With a spigot, transferring the wort to the fermenter became a breeze, with no more precarious pouring or heavy lifting.
Another feature I found useful was the built-in thermometer. It allowed me to monitor the temperature of the wort, ensuring the optimal environment for my brew. Remember, precision is key in homebrewing!
Graduated volume markers, though not crucial, added a level of convenience to my brewing process. With these markers, I could tell exactly how much wort I had in my kettle at any given moment. It eliminated the guesswork and helped me fine-tune my recipes.
Deciphering the Material of Your Brew Kettle
Now, let’s move on to the material of the kettle. There’s an ongoing debate among homebrewers on whether to choose a stainless steel or aluminum kettle.
I personally prefer stainless steel kettles. They’re more durable, they don’t corrode, and they maintain a shiny appearance even after countless brewing sessions.
However, aluminum kettles have their merits too. They are lighter, cheaper, and heat up quicker. Just ensure you “season” your aluminum kettle before your first brew to create a protective oxide layer, which prevents the aluminum from reacting with the wort.
Considering the Thickness of Your Brew Kettle
The Importance of Brew Kettle Thickness
In the world of homebrewing, the thickness of your brew kettle is a factor that cannot be underestimated. Let’s get into the specifics and talk about the “millimeters” – a detail that many aspiring homebrewers overlook.
When selecting a brew kettle, you’ll often see thickness represented in millimeters (mm). Typical homebrewing kettles range from about 0.8mm to 1.2mm in thickness. Kettles with a thickness closer to the 0.8mm end of the range are lighter and usually less expensive. However, they might not distribute heat as evenly as thicker ones, leading to the dreaded possibility of scorching your wort. And trust me, I’ve been there – there’s nothing worse than a batch of beer with a burnt undertone.
On the other hand, kettles closer to the 1.2mm end of the range have a thicker base, which generally translates into better heat distribution. These kettles might be heavier and a bit pricier, but in my experience, the benefits outweigh the cost.
The thickness becomes even more critical when you consider the tri-clad or heavy-duty options. These kettles feature an additional layer of aluminum sandwiched between stainless steel, enhancing heat conduction. A thicker tri-clad base, around 5mm to 7mm, ensures the most even heat distribution, reducing the risk of scorching your wort.
Choosing a brew kettle is a balancing act between cost, weight, and brewing performance. And while a thicker, heavier kettle might seem like a big investment, I’ve found that it pays off in the long run. Not only do I end up with better, more consistent brews, but the process becomes smoother, more enjoyable, and far less prone to mishaps.
Recognizing the Importance of a False Bottom
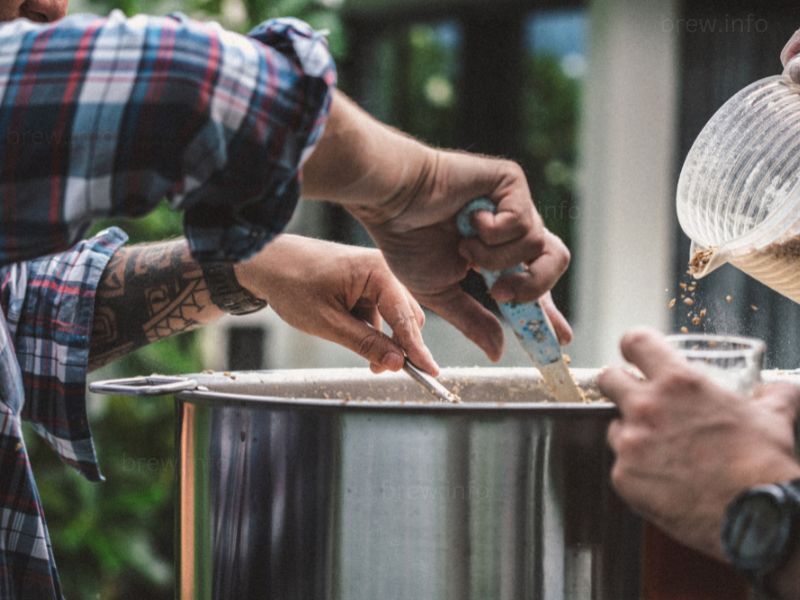
When I first came across the term “false bottom,” I was intrigued. As I delved deeper into the art of homebrewing, I discovered that it’s a feature many brewers swear by. A false bottom is a perforated screen at the bottom of your brew kettle. It aids in separating the grain from the wort during the process known as mashing. This is particularly handy if you’re planning on all-grain brewing, as it simplifies the process and improves the clarity of your beer.
Evaluating Your Brew Kettle’s Handles
Another seemingly small detail I learned to appreciate over time was the design of the kettle’s handles. You might wonder, how much of a difference can a handle make. Quite a bit, as it turns out! When the kettle is full of boiling wort, it becomes heavy and hot. Secure and heat-resistant handles make moving your kettle around safer and easier. Some kettles even come with cool-touch silicone handle covers, offering an extra layer of protection.
The Role of a Tri-clad Bottom in Your Brew Kettle
In my quest for the perfect kettle, I also discovered the advantage of a tri-clad bottom. This feature involves a layer of aluminum sandwiched between two layers of stainless steel at the bottom of the kettle. The aluminum layer enhances heat distribution, ensuring a more even boil. An even boil reduces the risk of scorching, improving the taste of your beer. While a kettle with a tri-clad bottom might be a bit pricier, it’s a worthwhile investment for serious homebrewers.
The Advantage of a Domed Lid in Your Brew Kettle
Another aspect that caught my attention was the shape of the kettle’s lid. A domed lid can help trap heat and reduce the amount of steam that escapes, which in turn makes the boiling process more efficient. Plus, it can also double as a handy tool for holding grains after you’ve removed them from the wort!
Opting for a Kettle with a Built-In Sight Glass
Lastly, let’s talk about sight glasses. A sight glass is a transparent tube that runs up the side of your kettle, giving you a visual measurement of how much liquid is inside. While this isn’t a necessary feature for beginners, it can be quite valuable for those looking to fine-tune their brewing process.
To Conclude – Choosing the Perfect Brew Kettle is a Personal Journey
Selecting the right brew kettle is not a one-size-fits-all scenario. It’s a personal journey that depends on your brewing style, your preferences, and your budget. My journey led me to a sturdy stainless steel kettle with a spigot, a built-in thermometer, graduated volume markers, and comfortable, heat-resistant handles. Your journey may lead you somewhere else. And that’s the beauty of homebrewing – it’s all about personalizing the process and enjoying the ride!
© 2011-2023 by Brew.info. All rights reserved. No part of this document may be reproduced or transmitted in any form or by any means, electronic, mechanical, photocopying, recording, or otherwise, without prior written permission of Brew.info.
Author: Stu
Meet Brew.info's founder and head brewer, Stu. He began homebrewing as a hobby 13 years ago and has now made it a full-time career. He gives his advice, recipes, and reviews of equipment on Brew.info in an effort to encourage others to experience the satisfaction of homebrewing beer. You can find him trying out new breweries and beers, or unwinding at home with a pint of his most recent creation, when he isn't busy brewing or writing about beer. Cheers!


